

Tools required for Android Testing
- Android Studio
- Mobsf
- Jadx-GUI
- Apktool
- Burpsuite Proxy
- Frida
- Objection
This blog will walk you through setting up your lab and some of the tools you'll need for android penetration testing on your mac M1, as well as giving you a basic understanding of Vulnerabilities in Android Applications to get you started.
1. Download Android studio on your M1 MAC.
2. Go to Virtual Device Manager, Choose device. In my case i have chosen Pixel3 With Playstore.
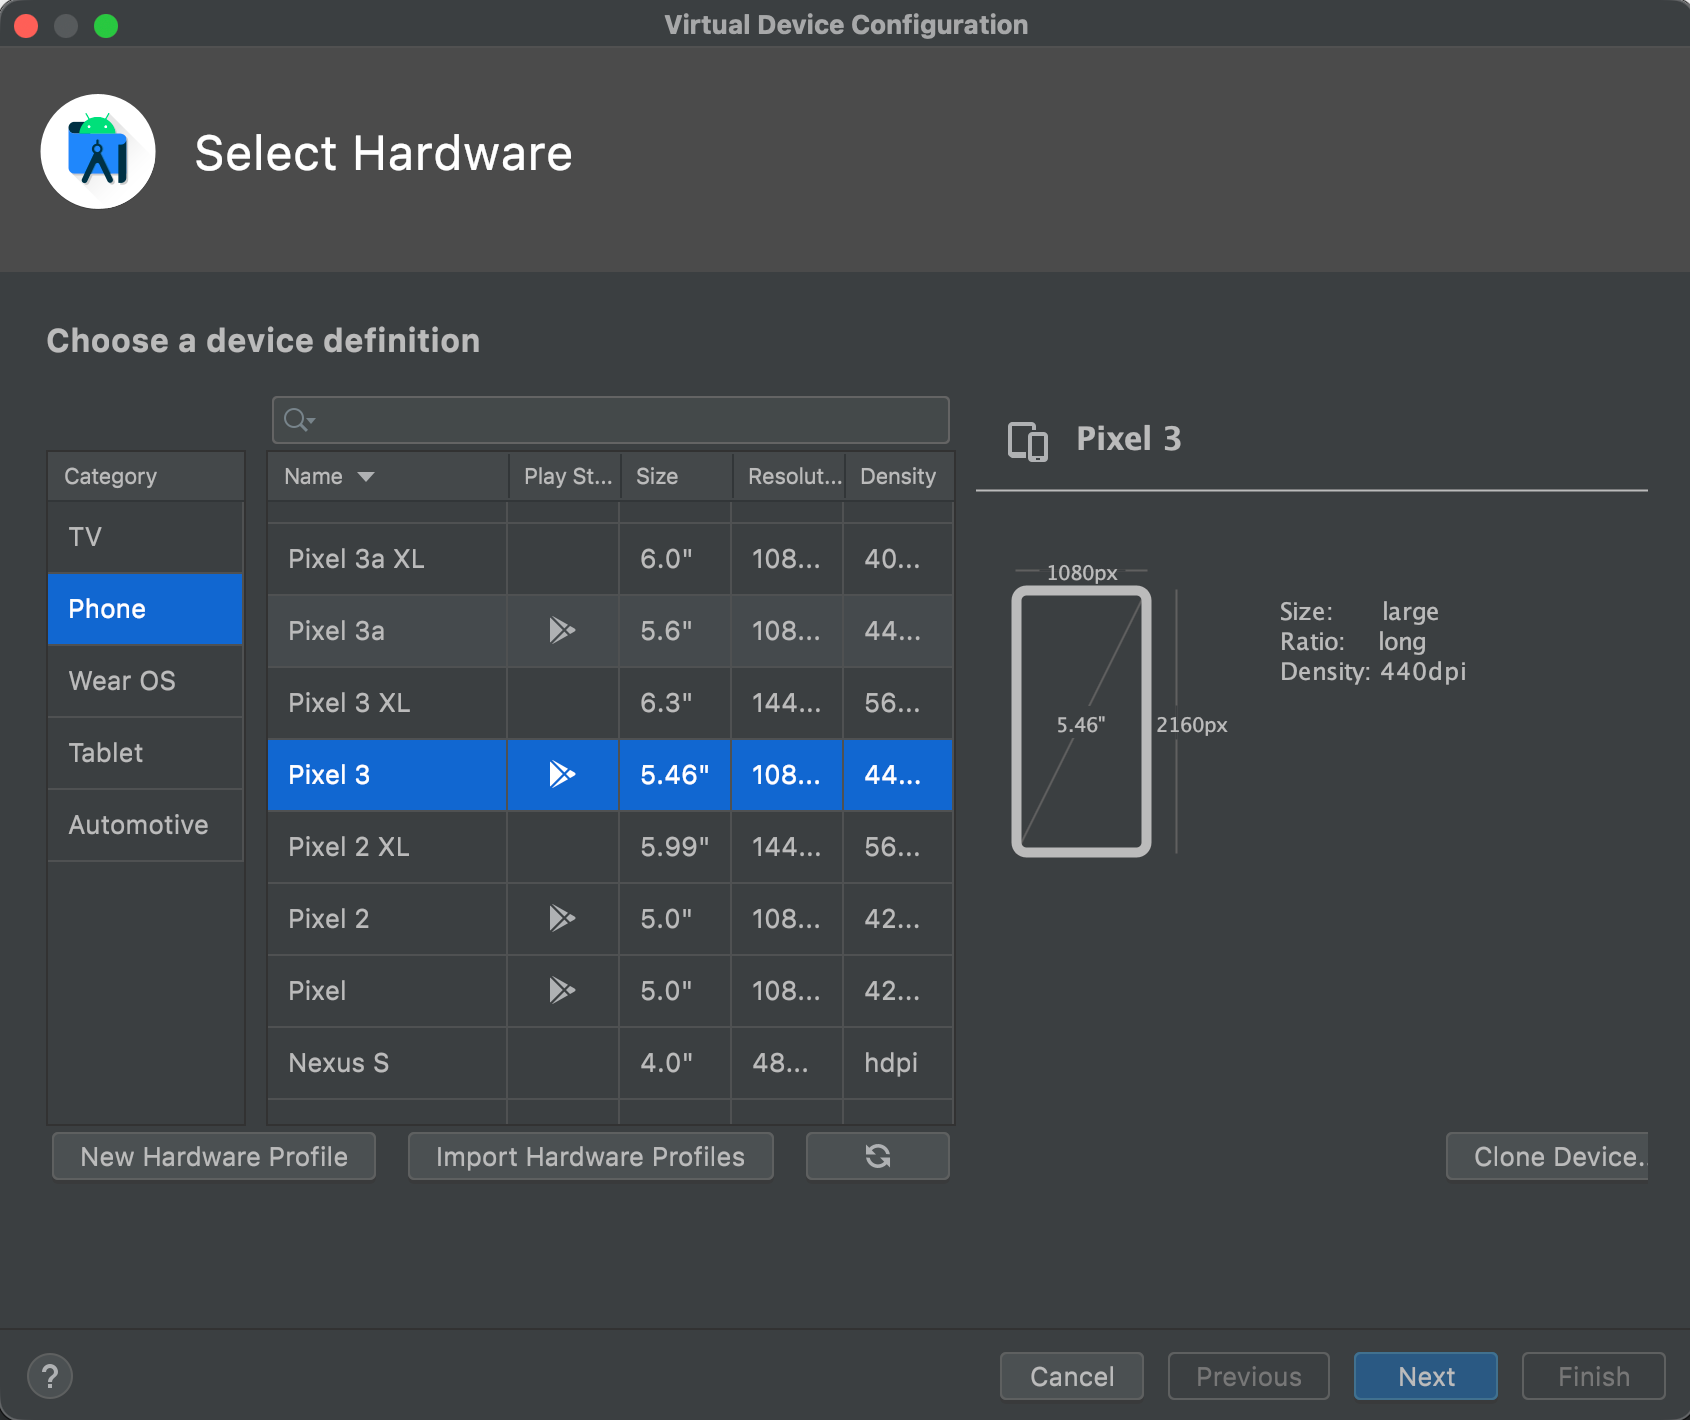
3. After Selecting the device, click on next and go to “Other Images”
Architecture: Arm_64
Android version: 11
API: 30
4. Click on next & on the advanced settings menu choose your ram size, in my case i have 64 gigs of ram so i am fine with 8 or 16 GB of ram, 10GB internal storage & 512MB vm size.
5. Press on the next button & it will start downloading all required libraries.
6. After successful completion, start your device.
ROOTING YOUR DEVICE (MagiskOnEmulator)
1. Clone this Repo anywhere in MAC.
2. Install ADB on mac using
brew install adb
3. Open your SDK folder, in my case its located in /Users/Shubham/Library/Android/. To check your SDK folder location, Open Android studio > SDK Manager > You will see the path there.

4. After opening the SDK folder, go to system images > android-30 > arm_64 . Copy ramdisk.img to “MagiskonEmulator folder”
Note: Make sure you backup the untouched ramdisk.img from <sdk_home>/system-images/<platform>/*/ramdisk.img. You will need it everytime you want to patch ramdisk with magisk (for the first time and also for subsequent magisk updates).
5. After copying ramdisk.img to MagiskOnEmu folder, Download this magisk64.zip file & busybox_arm64_selinux and place it into your MagiskOnEmu folder
Magisk64.zip: https://www.dropbox.com/s/9tyy0ffrzavhnva/magisk64.zip?dl=1
Busybox-arm64-selinux: https://github.com/Magisk-Modules-Repo/busybox-ndk/raw/master/busybox-arm64-selinux
6. Rename Magisk64.zip to “Magisk.zip” & Busybox-arm64-selinux to “busybox”(Remove existing busybox files)
7. Open your terminal on MagiskOnEmulator folder give executable permission to (patch.sh) chmod+x patch.sh, type this command “adb root” ” and after that type this “patch.sh”
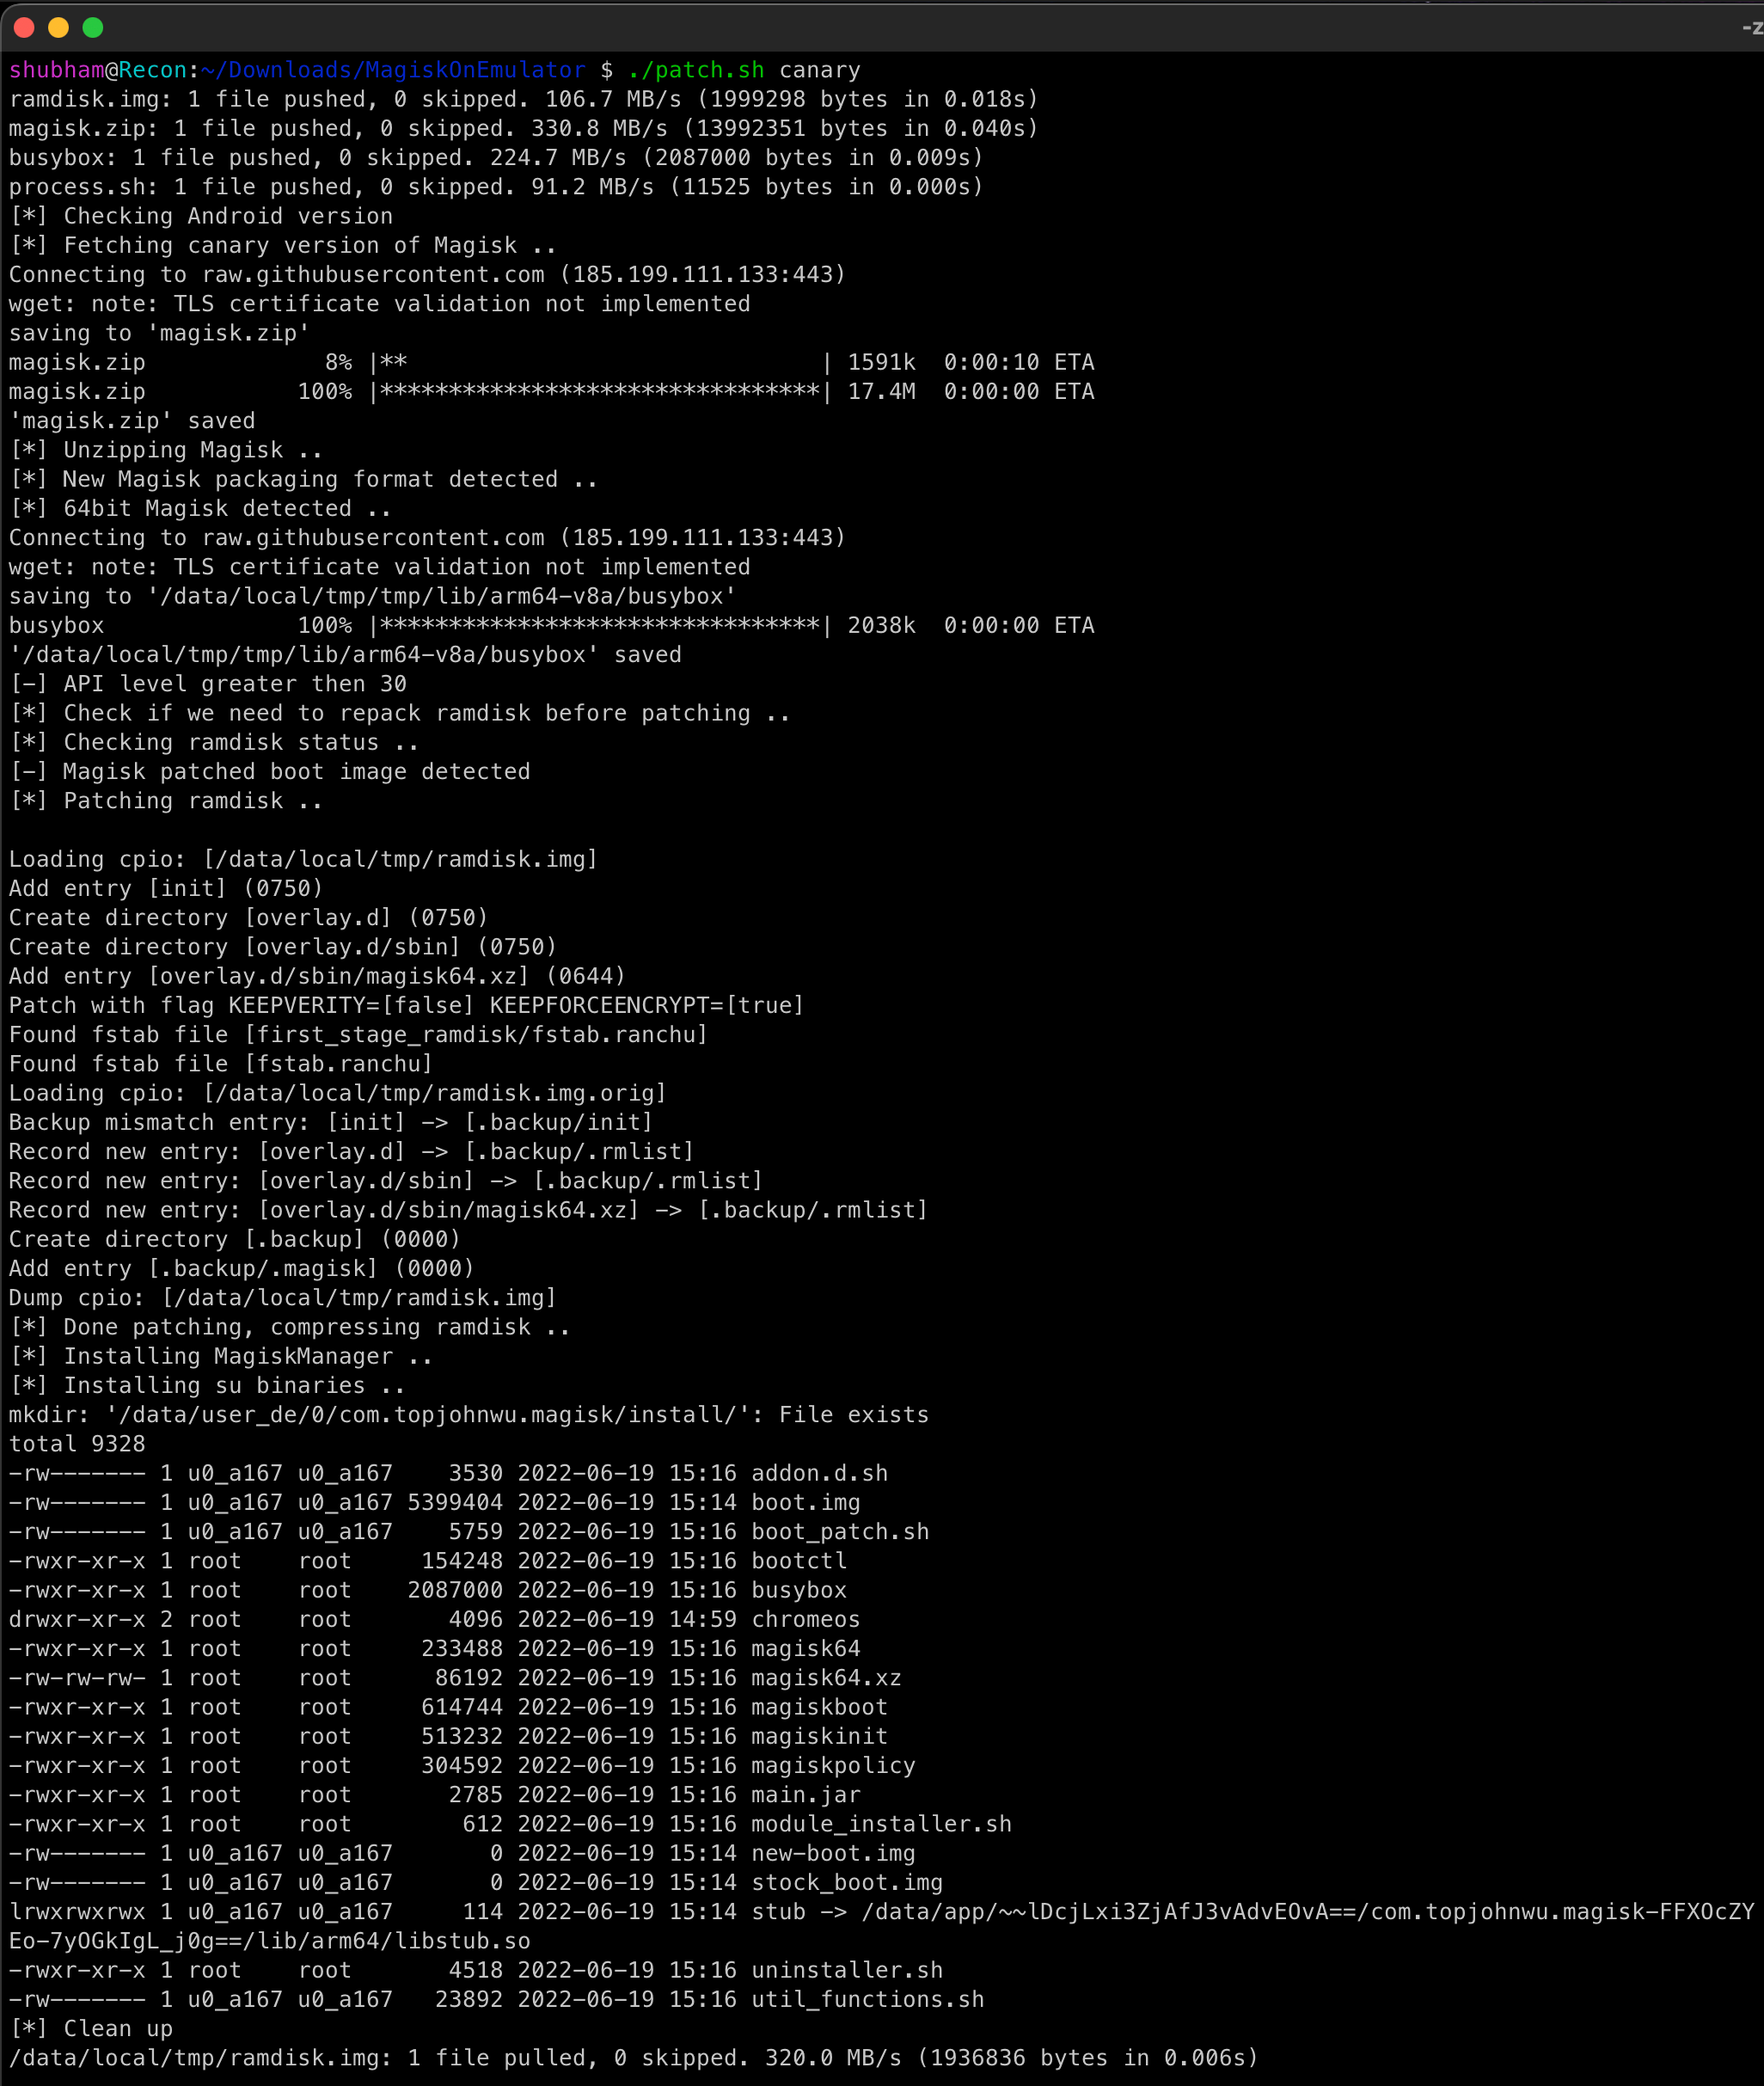
8. Noticing there is no major error, type this third command “patch.sh canary” to install latest canary Magisk on the ramdisk.img. This requires AVD internet connectivity towards github.
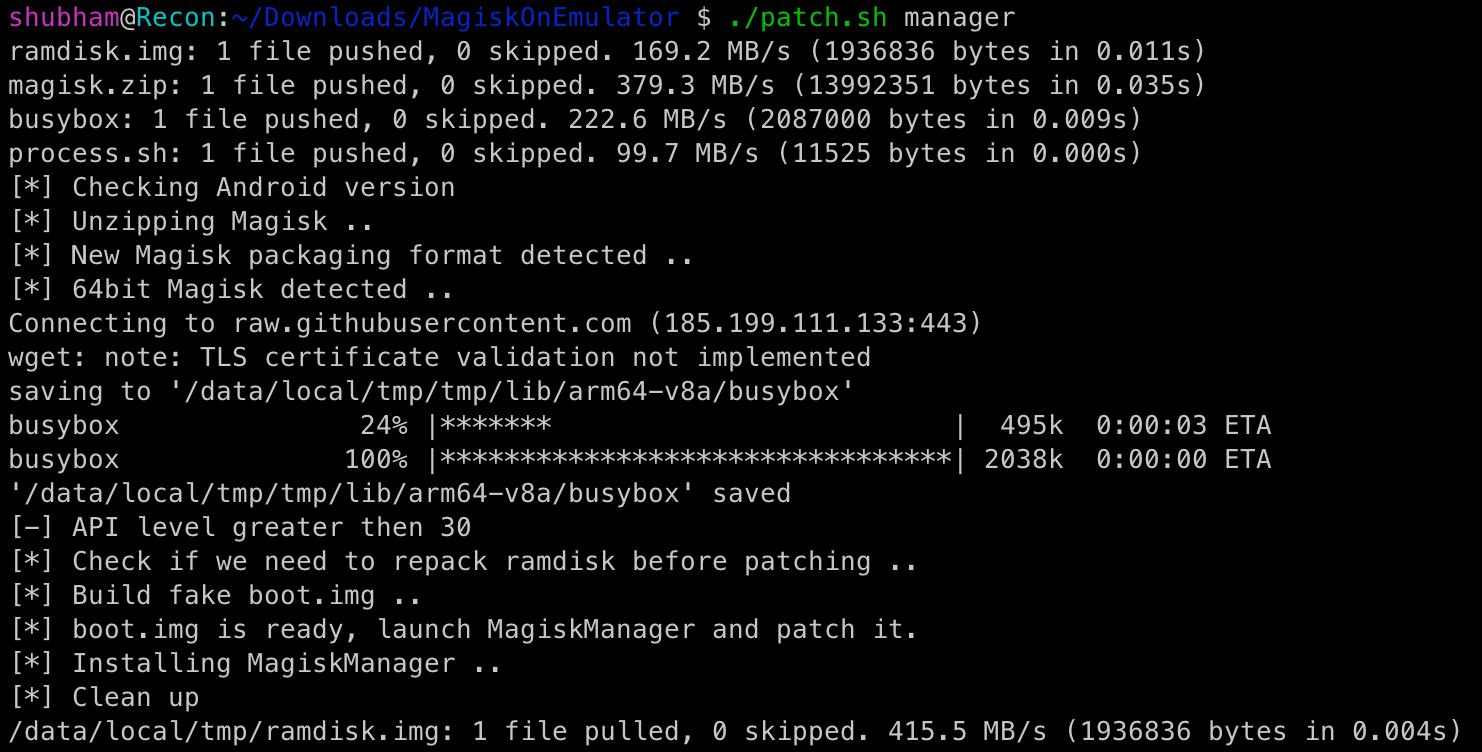
9. Now run this command
patch.sh manager
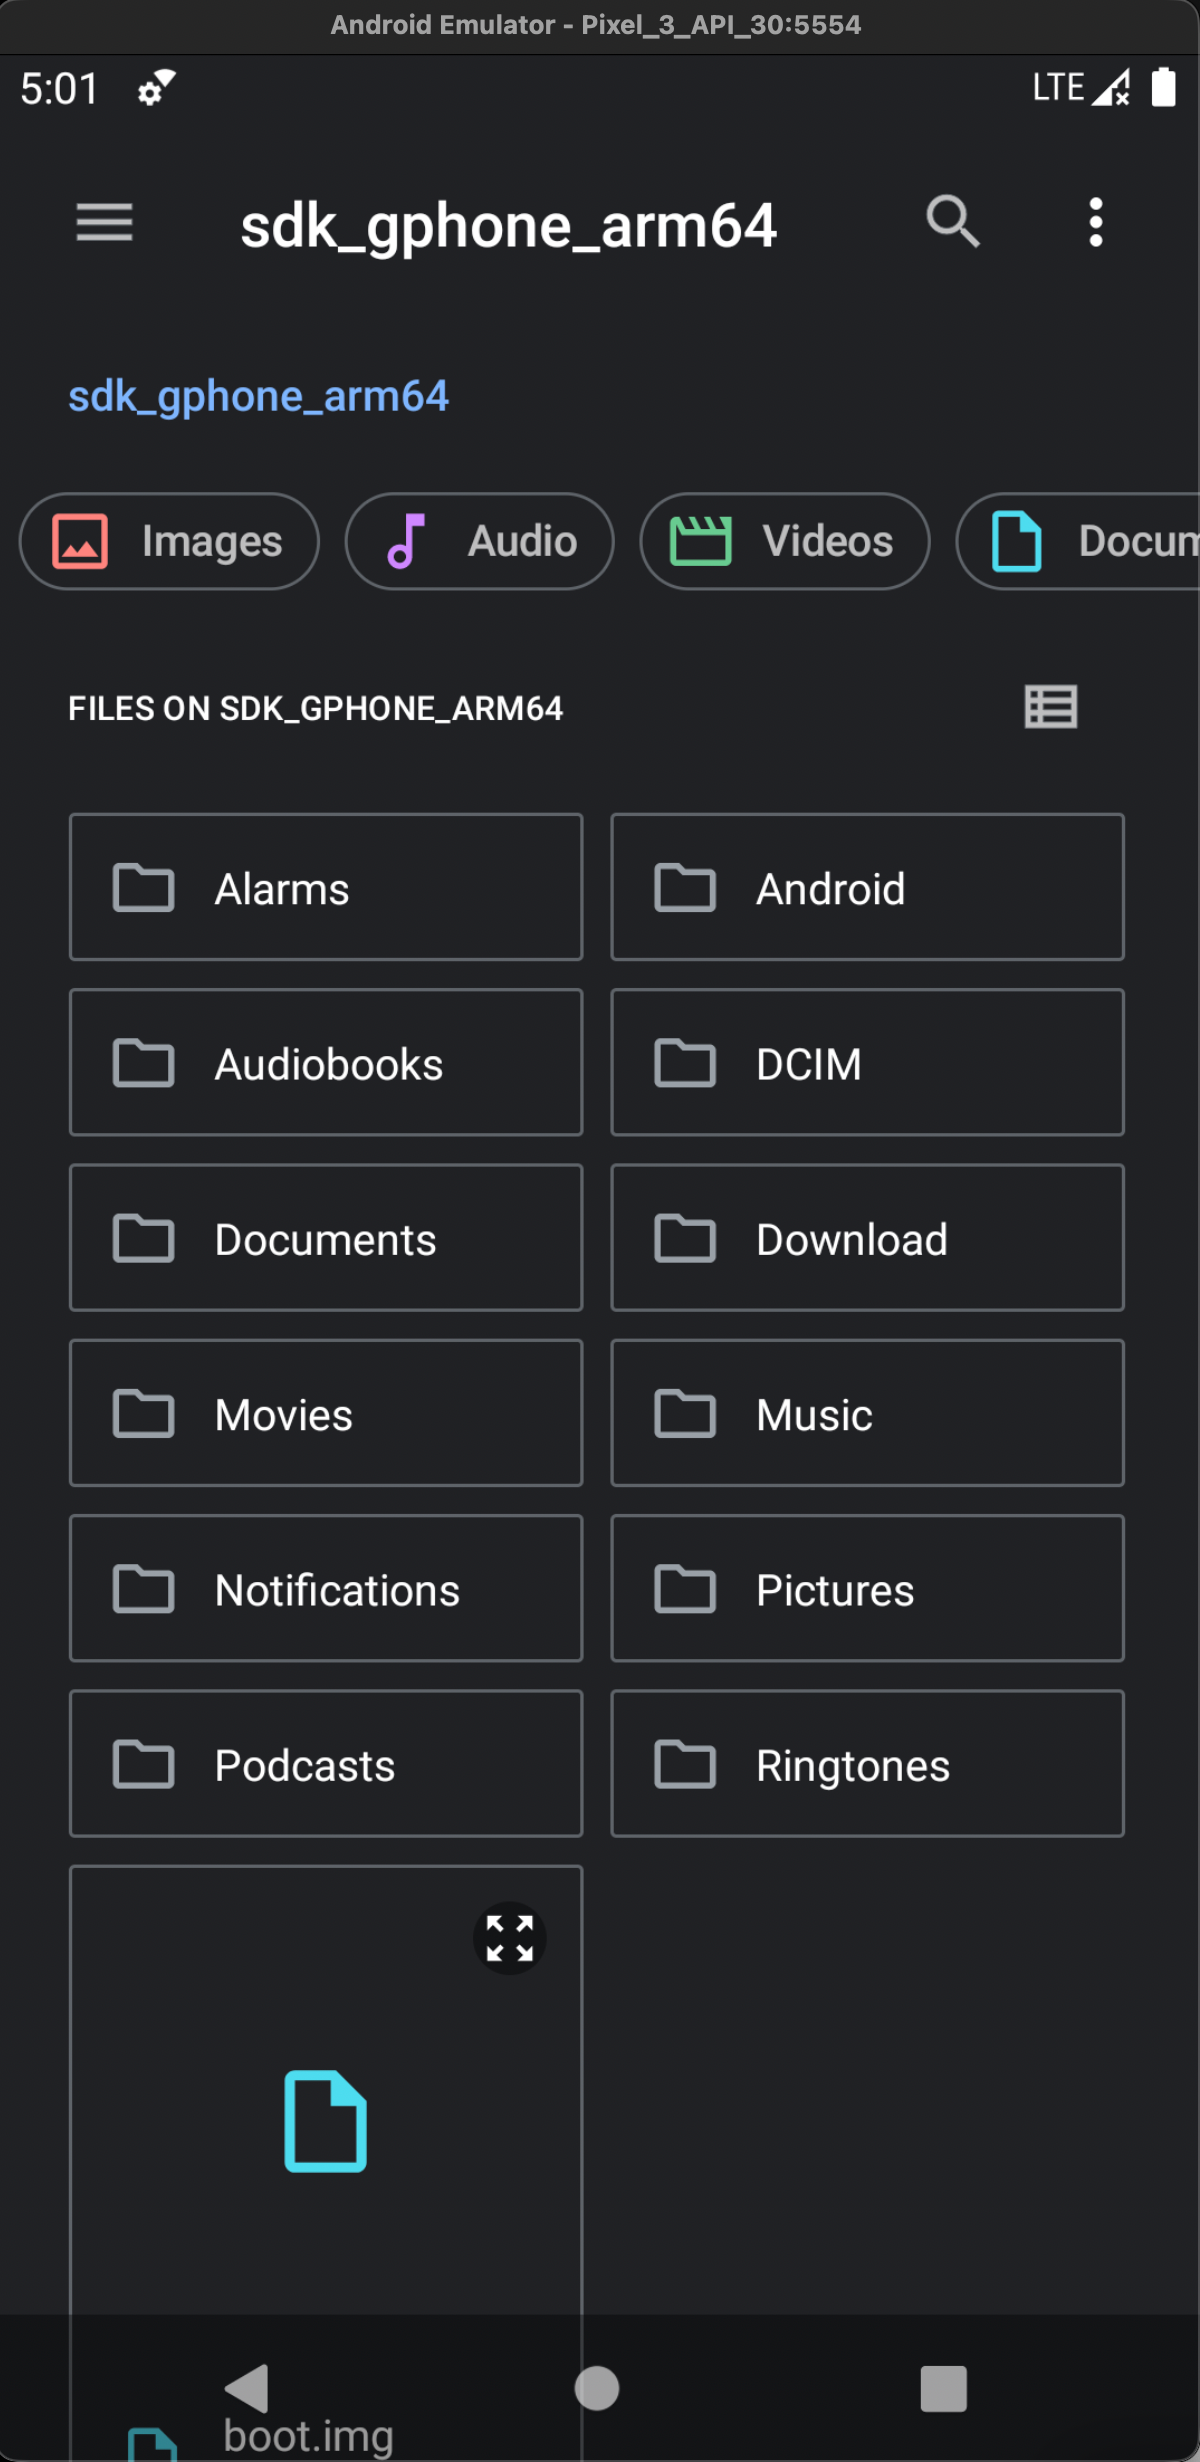
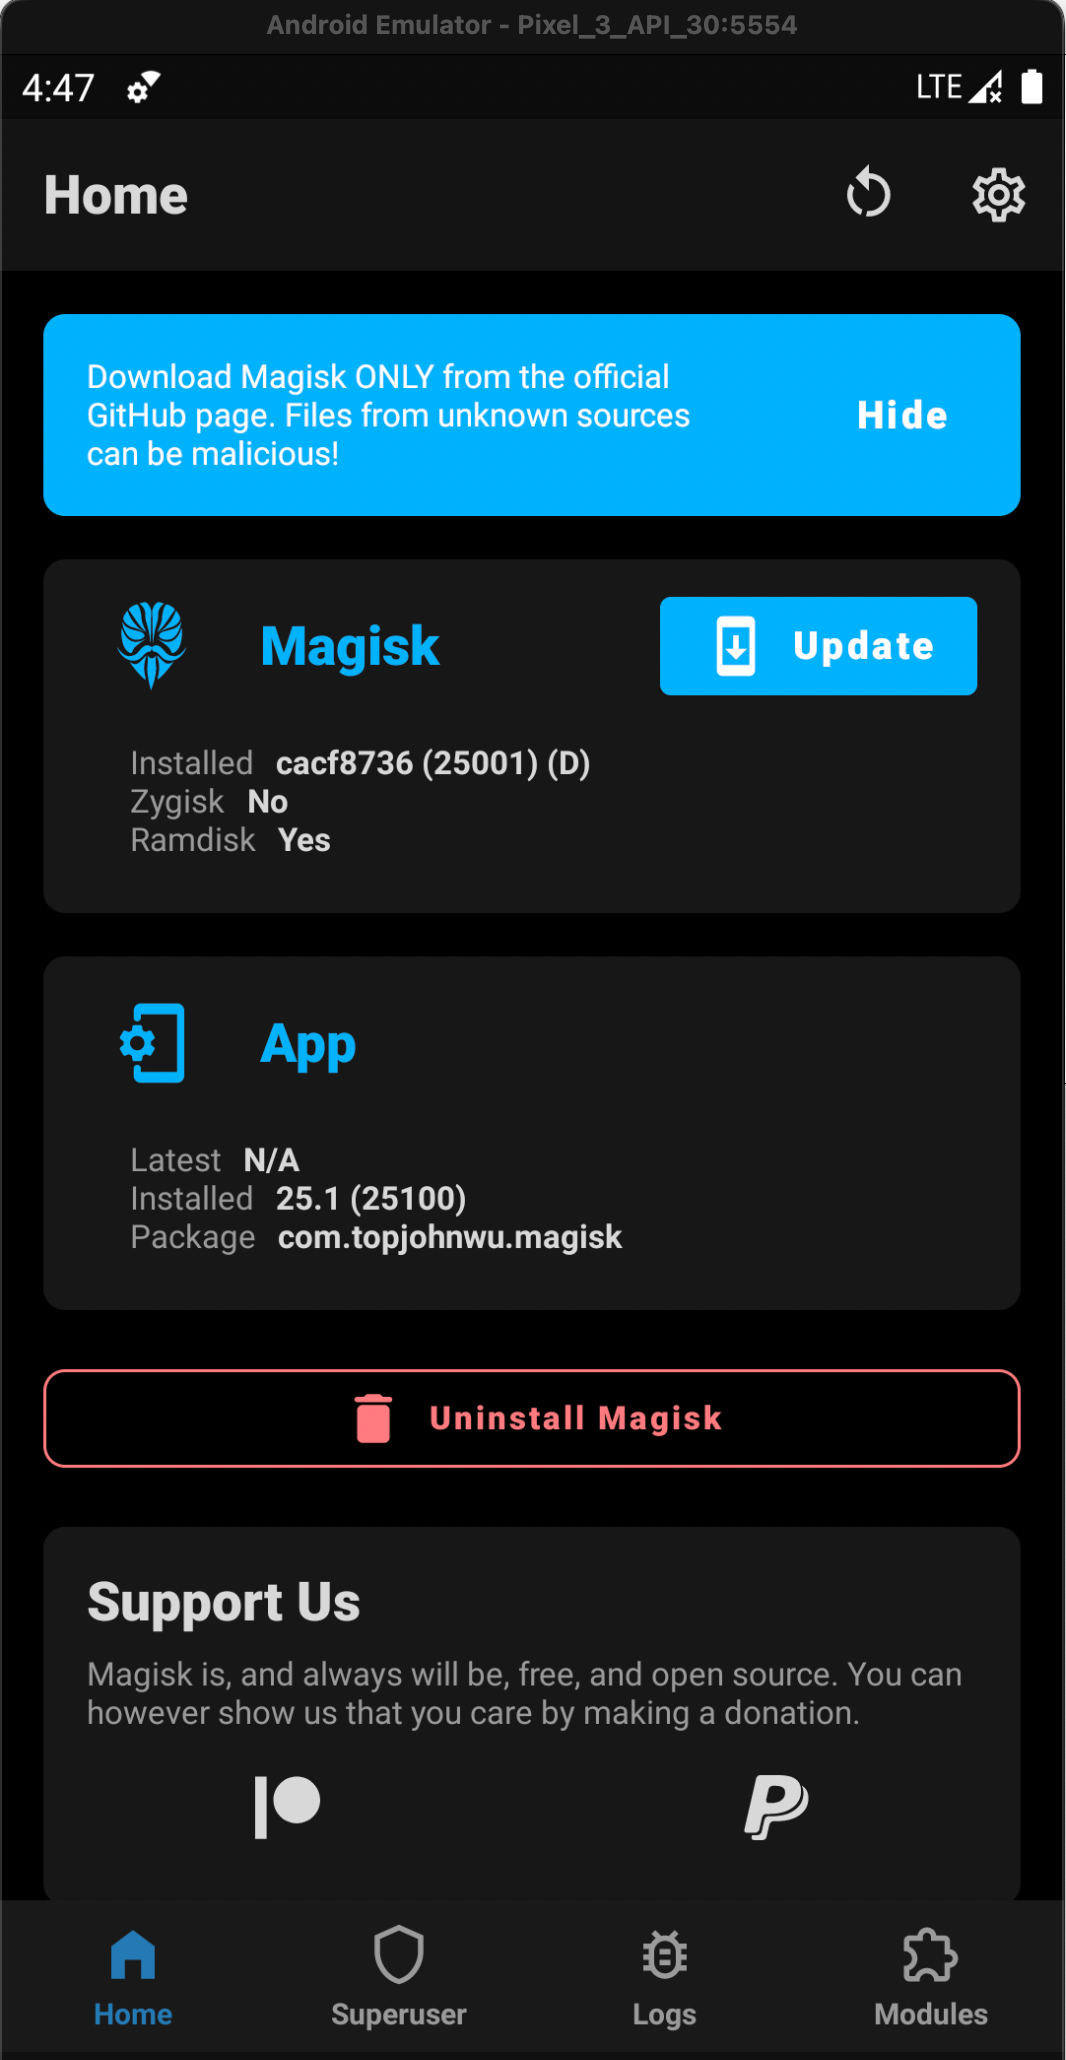
10. On your Virtual device you will see Magisk app has been installed, open the app and click on install Select the boot.img placed on your internal device storage.(If you don't see the boot.img, click upper right corner three dots & show hidden files)
11. Now seeing boot.img successfully patched on magisk, run the below command to to get the patched ramdisk.img
patch.sh pull

12. When finished, copy the patched ramdisk.img back to AVD directory(system images > android-30 > arm_64)
13. Power off and restart (cold start) the emulator
14. Enjoy rooting :)
Magisk modules Installation:
1. Riru (https://github.com/RikkaApps/Riru/releases/download/v25.4.4/riru-v25.4.4-release.zip)
2. Riru-Edxposed (https://github.com/ElderDrivers/EdXposed/releases/download/v0.5.2.2/EdXposed-v0.5.2.2_4683-master-release.zip)
3. AlwaysTrustUserCerts.zip (https://github.com/NVISOsecurity/MagiskTrustUserCerts/releases/download/v0.4.1/AlwaysTrustUserCerts.zip)
4. MagiskFrida (https://github.com/ViRb3/magisk-frida/releases/download/15.1.25-1/MagiskFrida-15.1.25-1.zip)
Download these files and place it into your device file manager by drag n drop method.
1. Open Magisk Manager > Modules section (last icon) > Install from storage, select Riru module.
2. After installing riru module, using same method install RiruEdXposed.
Install Burp Certificate
After finishing the above steps, we will now install Burp CA Certificate.
Open your burp > proxy > options > certificate “export certificate in DER format” > save the file as .cer extension
3. Using drag n drop, move the .cer file from your mac to your virtual device.
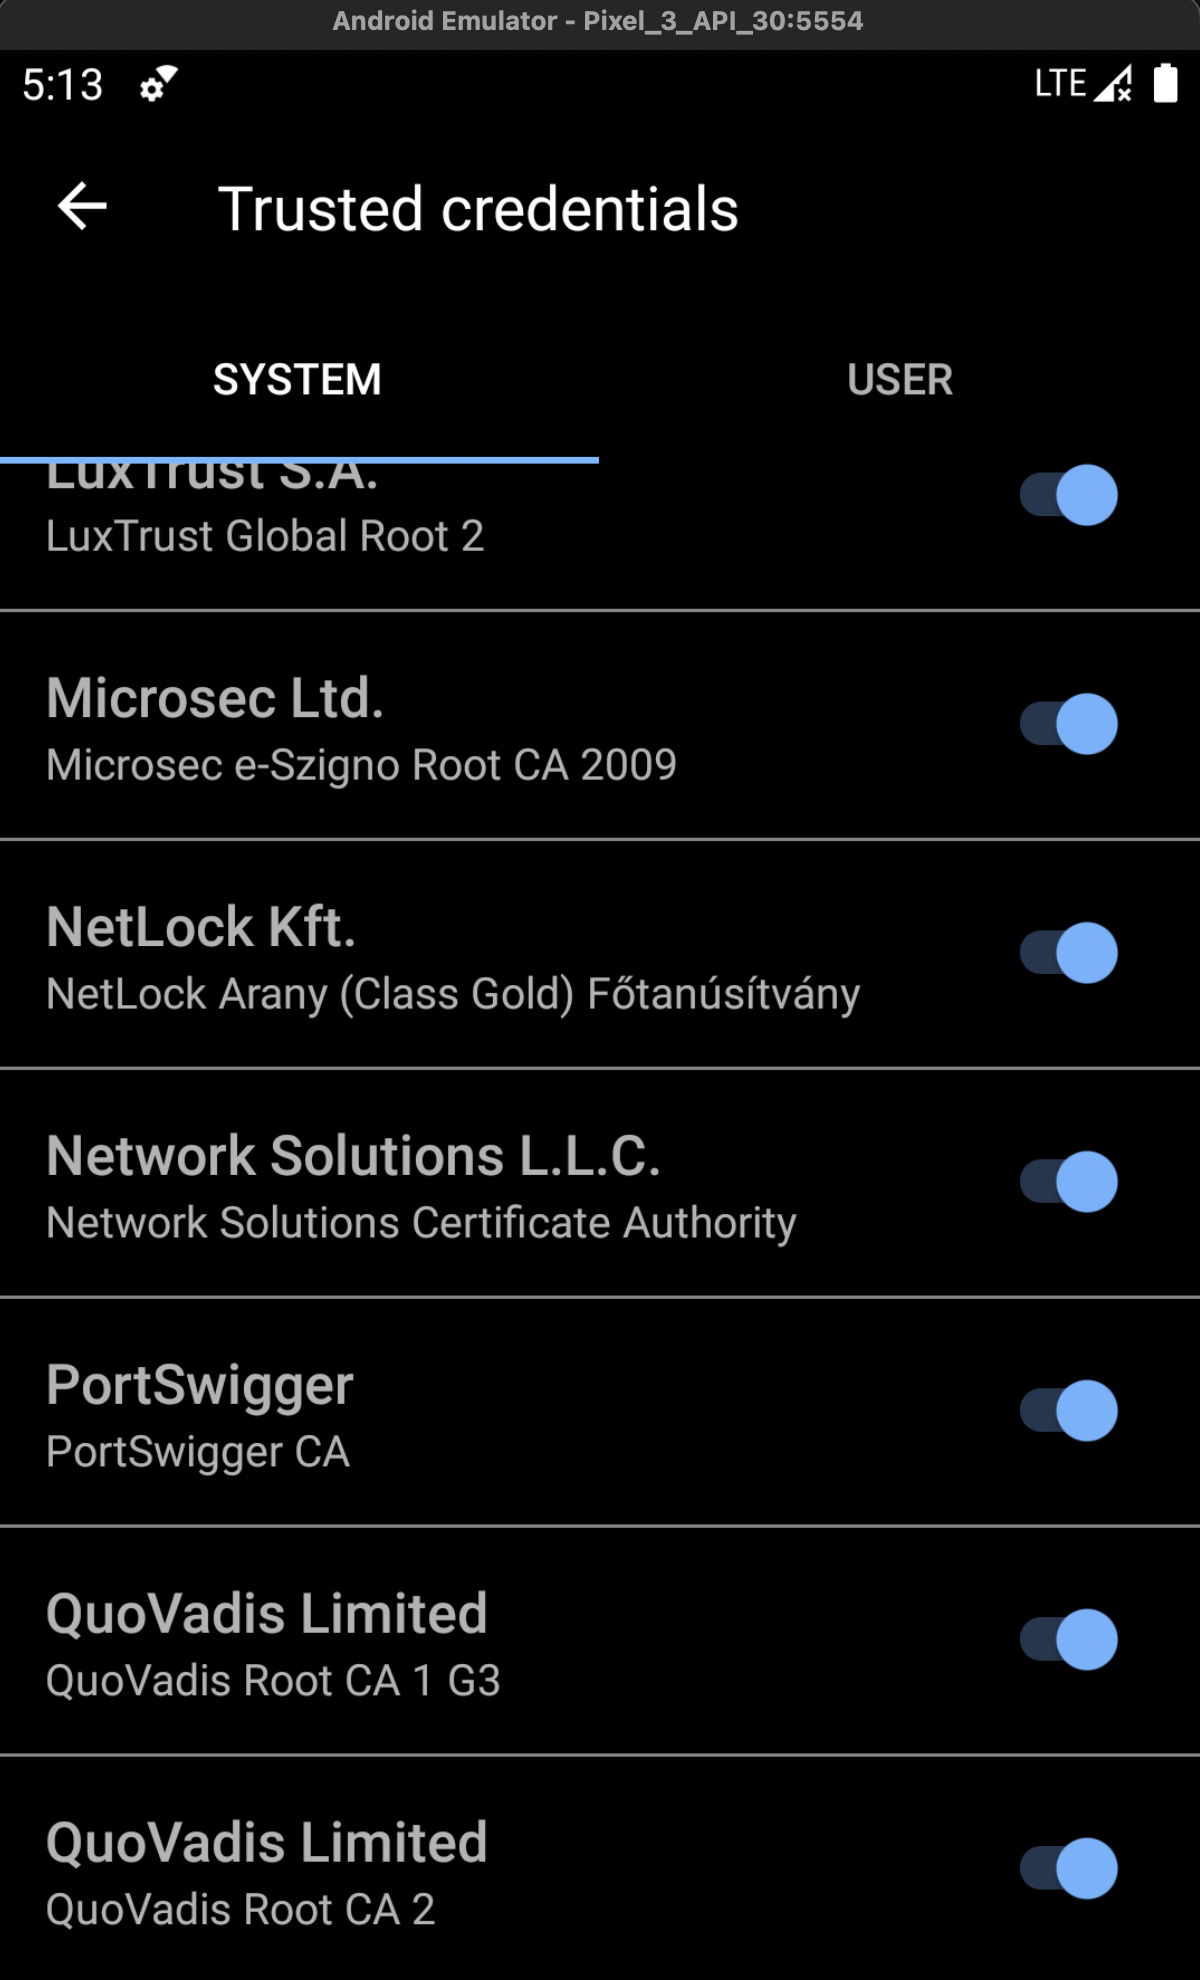
4. Go to your device settings > security > encryption & credentials > Install a certificate > CA Certificate. Choose your .cer file and install it.
5. After installing CA cert to User we will need to move this USER certificate to SYSTEM. For this we will need to install AlwaysTrustUserCerts.zip to magisk using above methods. Verify the certificate named “Portswigger CA” has been installed in SYSTEM. Reboot the device.
Proxy Listener Configuration
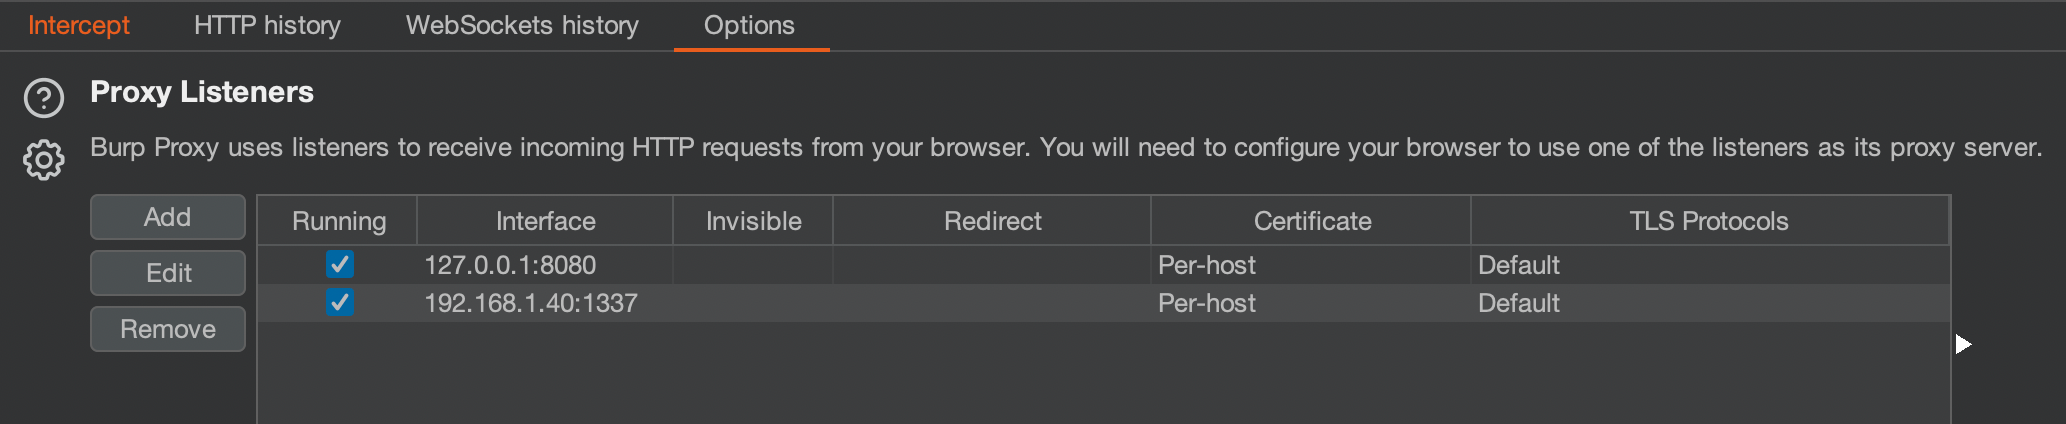
- In the Burpsuite, Click on the “Proxy” tab and then click on the “Option” tab. Under the Proxy Listeners, click on the “Edit” button.
- Under the “Binding” tab, in the “Bind to port” text field enter a port number that is not currently in use. Then select the “All interfaces” radio button and click on the “OK” button
- Go to the “Wi-Fi networks” table, find your network and tap it to bring up the connection menu.
- Tap “Connect”.If you have configured a password, enter it and continue.
Once you are connected hold down on the network button to bring up the context menu. - Tap on Modify Network .Ensure that the “Show advanced options” box is ticked.
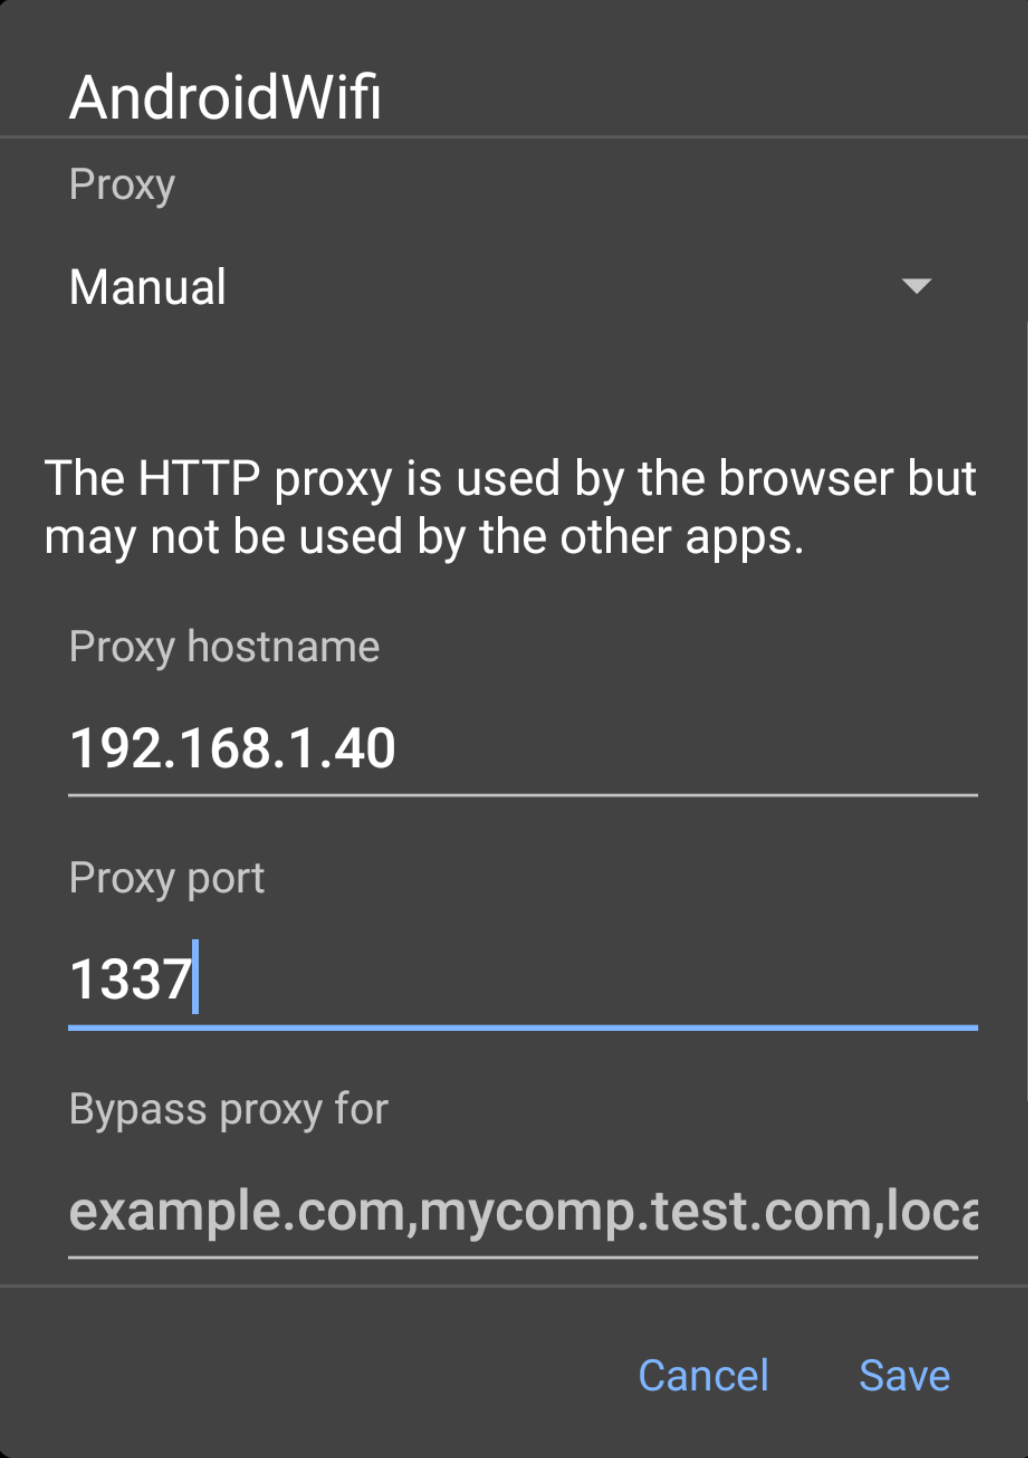
- Change the “Proxy settings” to “Manual” by tapping the button.
- Then enter the IP of the computer running Burp into the “Proxy hostname”.Enter the port number configured in the “Proxy Listeners” section earlier, in this example “1337”.Tap “Save”.
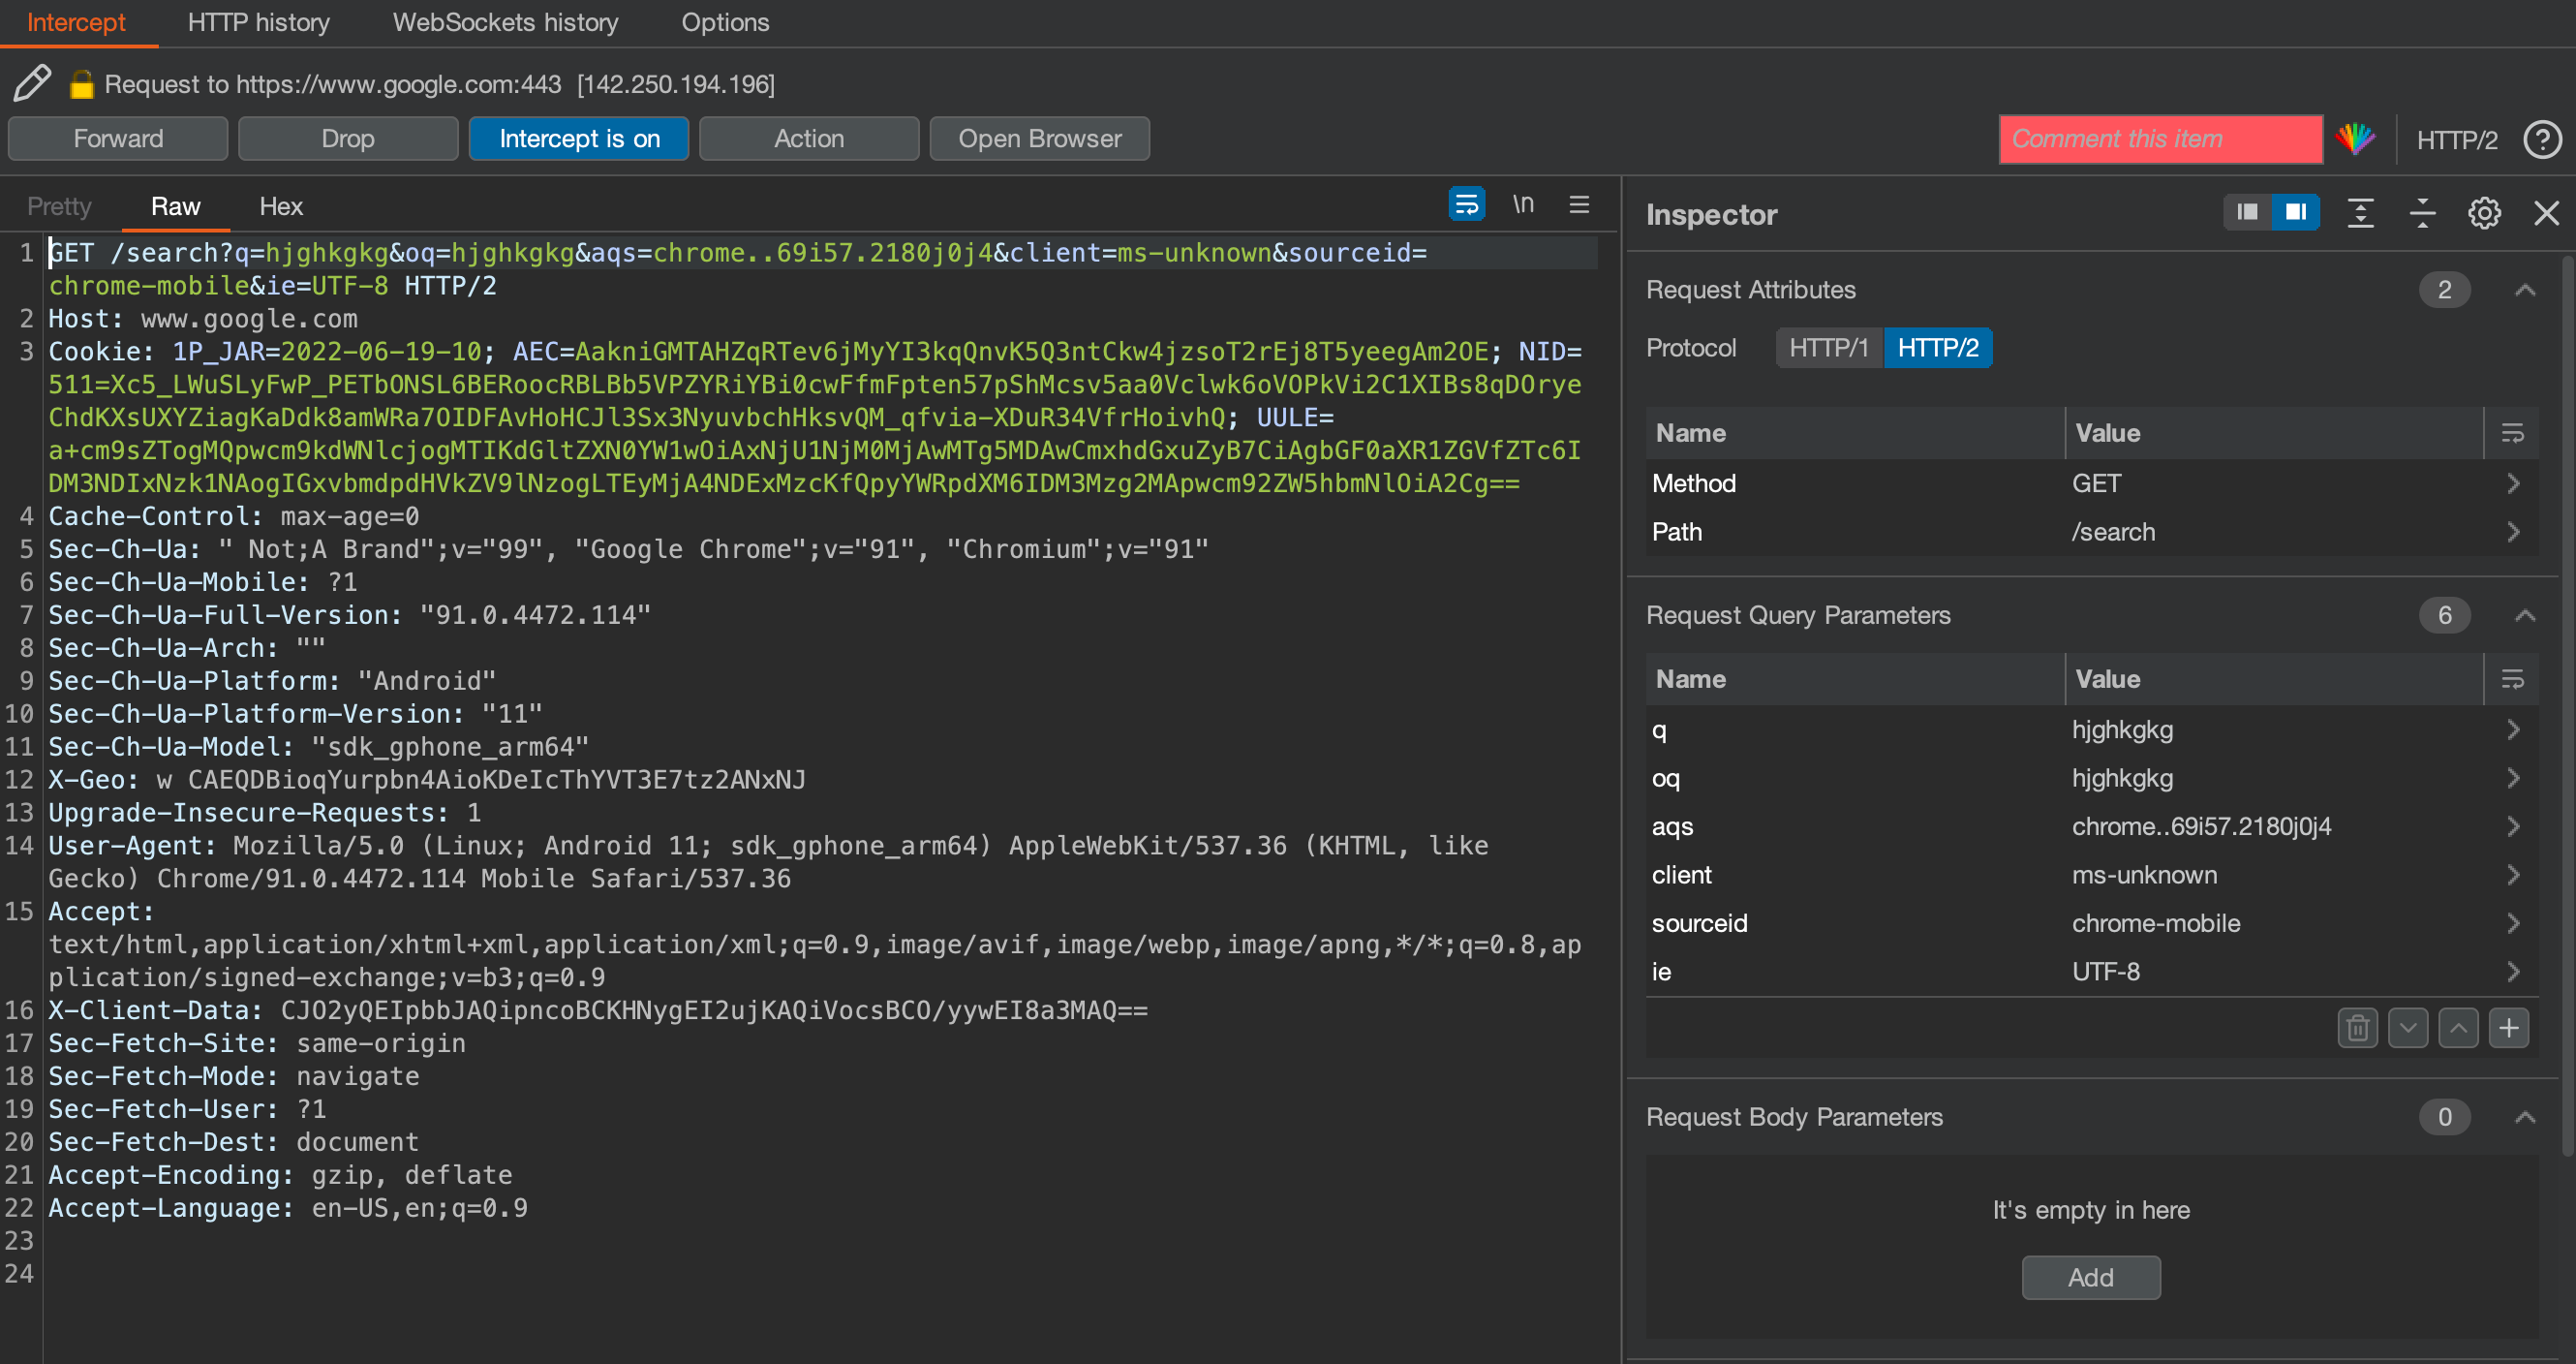
5. Open google chrome on your virtual device & check if intercepting is working well.
6. After installing the certificate, Install MagiskFrida module in the Magisk application. Reboot your device. Magisk will always start on boot automatically. To check the frida installation run this command “frida-ps -U” to list the packages installed on your virtual device.
For installing Frida services on mac and Objection please go through my other blog here.
https://guptashubham.com/resources/Lab-setup-for-IOS-testing